
As an Amazon Associate, RackReveal earns from qualifying purchases. Some links on this page are affiliate links, at no extra cost to you.
Fixing a bicycle stand might seem tricky. But it’s actually quite simple.
A bicycle stand is essential for keeping your bike upright when not in use. Over time, these stands can wear out or become unstable. Whether you’re an avid cyclist or just use your bike occasionally, knowing how to fix a wobbly or broken stand can save you a lot of frustration.
Ordering gear? Prime members get fast, free delivery on eligible items, and eligible new members can try Prime free.
Try Amazon Prime freeThis guide will help you understand the common issues with bicycle stands and provide easy steps to fix them. By the end, you’ll be able to handle minor stand repairs confidently. Let’s dive into the basics of maintaining a sturdy and reliable bicycle stand.
First: Which Kickstand Mount Does Your Bike Have?
Most “broken bike stand” problems come down to the mount. Look behind the bottom bracket and at the left rear chainstay, then match what you see:
| What you see on the frame | Mount type | Fix or replacement |
|---|---|---|
| A small flat plate between the chainstays, just behind the pedals | Center mount (kickstand plate) | Single-bolt center stand with a top clamp plate |
| Two threaded holes on a small plate by the rear wheel, about 18 mm apart | Direct mount, 18 mm | 2-hole stand with 18 mm spacing |
| Two threaded holes about 40 mm apart (common on e-bikes and newer city bikes) | Direct mount, 40 mm | 2-hole stand with 40 mm spacing; heavy-duty for e-bikes |
| No plate and no holes | None | Clamp-on rear stand that bolts around the chainstay and seatstay |
| Kids’ bike, 12-20 inch wheels | Usually clamp-on | A kids’ stand sized for the wheel; adult stands are too long |
Measure the hole spacing with a ruler before you buy. Carbon frames and thin-walled race frames should not get a clamp-on stand at all, because the clamp can crush the tubes.
Preparation
Fixing a bicycle stand involves gathering the right tools and ensuring the bike is stable. Check for loose screws and tighten them. Replace any worn-out parts if necessary.
Inspecting The Bicycle Stand
First, check the stand for any visible damage. Look for bent or broken parts. Make sure the bolts are tight. Loose bolts can cause the stand to wobble. Ensure the springs and hinges are not rusted. A rusty hinge can make the stand hard to use. If you find any issues, note them down. This will help in fixing the stand.
Gathering Required Tools
Collect all necessary tools before starting. You will need hex keys (usually 5 or 6 mm), a wrench, and lubricant. A rag or cloth is useful for cleaning. Having a replacement bolt or spring is also good. This ensures you are ready for any small repairs. Place all tools near your workspace. This makes the repair process easy and quick.
Most kickstand bolts take a 5 mm or 6 mm hex key, not a screwdriver. A Y-wrench gives you 4, 5 and 6 mm in one tool.

- 4mm, 5mm, and 6mm hex set
- Wrenches made from industrial tool steel, through hardened and tempered for long life
- Chamfered tips for a perfect fit
If the bolt keeps working loose, add a drop of blue (medium-strength) threadlocker. It holds against vibration but still comes off with hand tools. Do not use red.
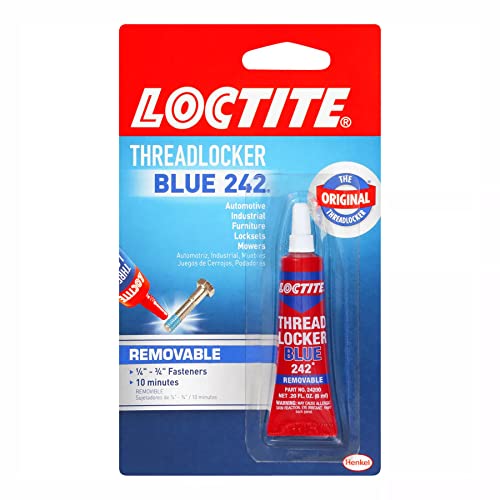
- Lock and Seal Fasteners: Prevents loosening of metal fasteners caused by vibration on small motors, mowers, and power eq…
- Prevents Rust and Corrosion: Protects from leaks, rusting, and corrosion and eliminates need to stock up on expensive lo…
- Removable: Can be removed with hand tools
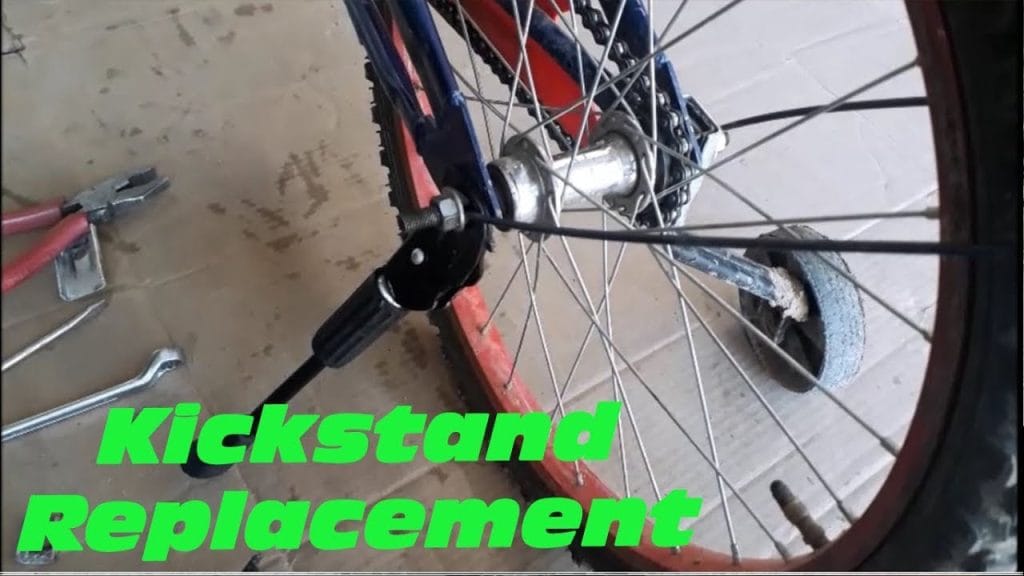
Removing The Old Stand
First, locate the screws on the bicycle stand. Use a screwdriver to turn the screws counterclockwise. This will loosen them. Make sure to turn each screw slowly. If the screws are tight, apply a bit more force. Be careful not to strip the screws. Once they are loose, set them aside. You will need them later.
Once the screws are loose, gently pull the stand away. Hold the bicycle steady. The stand should come off easily. If it is stuck, wiggle it a bit. Be patient and do not rush. Finally, place the old stand aside. You are now ready to attach a new stand.
Replacement Kickstands by Mount Type
If the stand is bent, cracked, or the spring and foot are worn out, replacing it is usually quicker than repairing it. Match the stand to the mount you found in the table above, and check that the listing covers your wheel size.
Center mount (kickstand plate): Greenfield KS2 is the classic single-bolt stand. Check the listing length against your frame size before ordering.

- Center-mounted kickstand
- Brushed aluminum finish
- 285 mm (for bikes 22″ and under)
No mounting plate or holes: a clamp-on rear stand like the Sunlite fits around the chainstay. Not for carbon frames.

- ALLOY CONSTRUCTION
- FULLY ADJUSTABLE FOR WHEEL SIZES 24″ to 29″
- EASY TO INSTALL
Direct mount with holes about 18 mm apart: this HENMI stand uses 18 mm 2-hole spacing for 24-29 inch wheels.
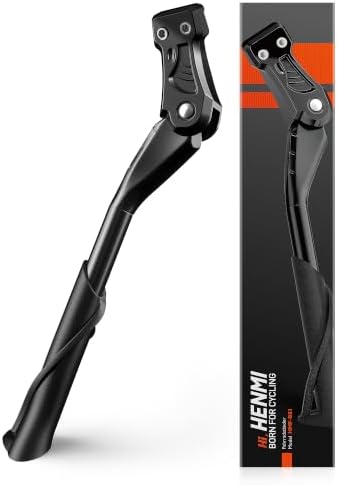
- Tool-Free Installation: Designed for bikes with pre-drilled mounting points (18mm spacing). Just align the stand’s bra…
- Universal Fit: Works with mountain, road, hybrid, and e-bikes—whether you ride a trail beast or a city cruiser.
- Aluminium alloy material: Lightweight yet tough enough for daily abuse. Won’t rust, crack, or bend—even in rain, mud, …
E-bike with holes about 40 mm apart: this RBRL heavy-duty stand uses 40 mm (1.57 inch) spacing and lists 26-29 inch e-bikes.

- Specifically for E-Bikes – Stable & Load-Bearing: The RBRL E-Bike Kickstand is made of reinforced aluminum and safely su…
- Heavy-duty, Rust-Free & Durable: Made from high-strength aluminum alloy, this kickstand supports heavy E-Bikes without b…
- Wide Anti-Slip Base for All-Terrain Stability: The extra-wide foot with a non-slip surface provides firm grip on grass, …
Kids’ bikes, 12-18 inch wheels: a short adjustable stand made for small wheels.
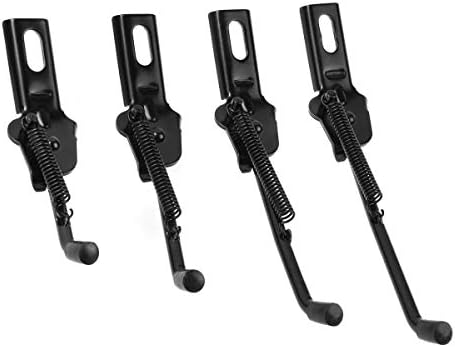
- NOTE: Please choose the size according to the tire mark. The dimensions don’t mean the length of the bike kickstand itse…
- EASY INSTALLATION: Simply loosen the back axle nut, attach the kickstand for kids bike using existing bike nuts (no extr…
- STURDY CARBON STEEL: Carbon steel construction kids bike kickstand outperforms aluminum alloy kickstand, ensuring long-l…
As an Amazon Associate, we earn from qualifying purchases at no extra cost to you.
Installing The New Stand
Secure your bike by installing a new stand. Follow easy steps to fix it tightly and ensure stability. Enjoy a worry-free ride with your sturdy bicycle stand.
Positioning The New Stand
First, find a flat surface. Hold the stand against the bike frame. Make sure it is near the middle. This helps with balance. Check if the stand fits well. Adjust its angle if needed. The stand should not touch the wheel. Keep it steady. This step is very important.
Securing The Bolt
Most kickstands use one bolt through a top clamp plate (center mount) or two bolts into threaded holes (direct mount). Use the right hex key, usually 5 or 6 mm. Tighten the bolts evenly until the stand no longer moves, but do not force them; overtightening can strip the threads or crack an aluminum plate. If the bolt has worked loose before, put a drop of blue threadlocker on the threads first.

Adjusting The Stand
Make sure your bike is on flat ground. Check the stand’s screws. They should be tight. If they are loose, use a screwdriver. Turn the screws to the right. This will tighten them. A loose stand can make your bike fall. You do not want that.
Push your bike gently to one side. The bike should stay up. If it wobbles, adjust the stand again. Check the stand length. It should touch the ground fully. If it is too short, you may need a new one. Testing helps keep your bike safe. Always test after adjusting.
Troubleshooting
Bicycle stands often get loose or bent. This can make the bike unstable. Check for loose screws or broken parts. A bent stand can cause the bike to lean too much. Some stands may rust, making them hard to move. Look for any rust or dirt blocking movement. If the stand is stuck, try lubricating it.
Tighten any loose screws with a wrench. Replace broken parts if needed. For a bent stand, gently bend it back into place. Use a rust remover to clean any rust. Lubricate the stand to make it move smoothly. If the stand is still not working, consider buying a new one.
Maintenance Tips
Check the bicycle stand often. Look for any loose bolts or screws. Tighten them if needed. Examine the stand for any cracks or damage. Replace broken parts. Make sure the stand is stable. A wobbly stand can cause accidents.
Keep the bicycle stand clean. Wipe off dirt and grime. Use a soft cloth for this. Lubricate the moving parts. This helps the stand work smoothly. Use a few drops of oil. Avoid using too much. It can attract dirt. Regular cleaning and lubrication will extend the life of your stand.
Black Friday tip: bike accessories and tools are often discounted in late November. Check your mount type and hole spacing now, so you can pick the right kickstand quickly when the deals start.
Frequently Asked Questions
How Do I Fix A Loose Bicycle Stand?
To fix a loose bicycle stand, tighten the bolt connecting the stand to the bike frame. Ensure it’s secure and stable.
What Tools Are Needed For Fixing A Bike Stand?
You typically need a wrench or Allen key to fix a bike stand. These tools help tighten or adjust the stand.
Why Does My Bike Stand Keep Falling?
A bike stand may keep falling due to a loose bolt or worn-out components. Check and tighten or replace parts as needed.
Can I Fix A Broken Bike Stand Myself?
Yes, you can fix a broken bike stand with the right tools and replacement parts. Follow a step-by-step guide for best results.
Which Kickstand Will Fit My Bike?
Check the mount first: a plate behind the pedals takes a center-mount stand, two threaded holes by the rear wheel take a 2-hole stand with the same spacing (usually 18 mm or 40 mm), and a frame with neither needs a clamp-on stand. Then check the wheel size range on the listing.
Conclusion
Fixing a bicycle stand is easier than you think. With simple tools, you can do it yourself. Follow the steps outlined and save time and money. Regular maintenance keeps your bike stand in good shape. Happy riding!
Further reading: kickstand (Wikipedia)

🛠️ Buying Gear for Your Work Truck?
A free Amazon Business account gets you bulk pricing, tax-exempt purchases, and business-only deals on tools, racks, and truck accessories.
Create Free Amazon Business AccountAs an Amazon Associate we earn from qualifying purchases.