
Are you thinking about removing your roof rack but aren’t sure if you can do it yourself? You might wonder if it’s a complicated job or if you need special tools.
The truth is, taking off a roof rack can be easier than you expect—and doing it yourself can save you time and money. You’ll discover simple steps to remove your roof rack safely and quickly. Keep reading to find out how to tackle this task with confidence, even if you’ve never done it before.
Tools Needed
Removing a roof rack yourself needs the right tools. Having the proper equipment makes the job easier and safer. Without the right tools, the process could take longer or cause damage.
Gathering tools before starting helps you work smoothly. Some tools are basic, while others improve safety and efficiency.
Basic Hand Tools
You will need common hand tools like a wrench or socket set. These help loosen bolts that hold the roof rack. A screwdriver might be necessary for screws on certain racks. A tape measure helps check the rack’s size and fit. Keep a set of pliers nearby for gripping small parts.
Safety Gear
Safety gear protects you during the task. Wear gloves to protect your hands from sharp edges. Use safety glasses to shield your eyes from dust or debris. Non-slip shoes help keep your balance while on the vehicle. A sturdy ladder or step stool makes reaching the roof easier and safer.
Optional Equipment
A rubber mallet can help loosen stuck parts without damage. A flashlight or headlamp is useful in low light or tight spaces. Lubricant spray can loosen rusty bolts or screws. A magnetic tray keeps small parts from getting lost during removal.
Credit: www.homedepot.com
Types Of Roof Racks
Roof racks come in different types. Each type fits a specific need or vehicle. Understanding these types helps you decide if you can remove one yourself. It also tells you what tools you might need.
Factory Installed Racks
Factory installed racks come with the vehicle. They are built by the car maker. These racks usually fit perfectly. They may be easier to remove because they have standard bolts.
Sometimes, you only need a simple tool like a wrench. But some racks have covers hiding the bolts. You must remove these covers carefully to avoid damage.
Aftermarket Racks
Aftermarket racks are added after buying the car. Many brands make these racks. They offer different styles and sizes. These racks may have unique bolts or clamps.
Removing them can be tricky. Some racks use special locks or screws. Reading the instructions helps to remove them safely. You might need extra tools like Allen keys or screwdrivers.
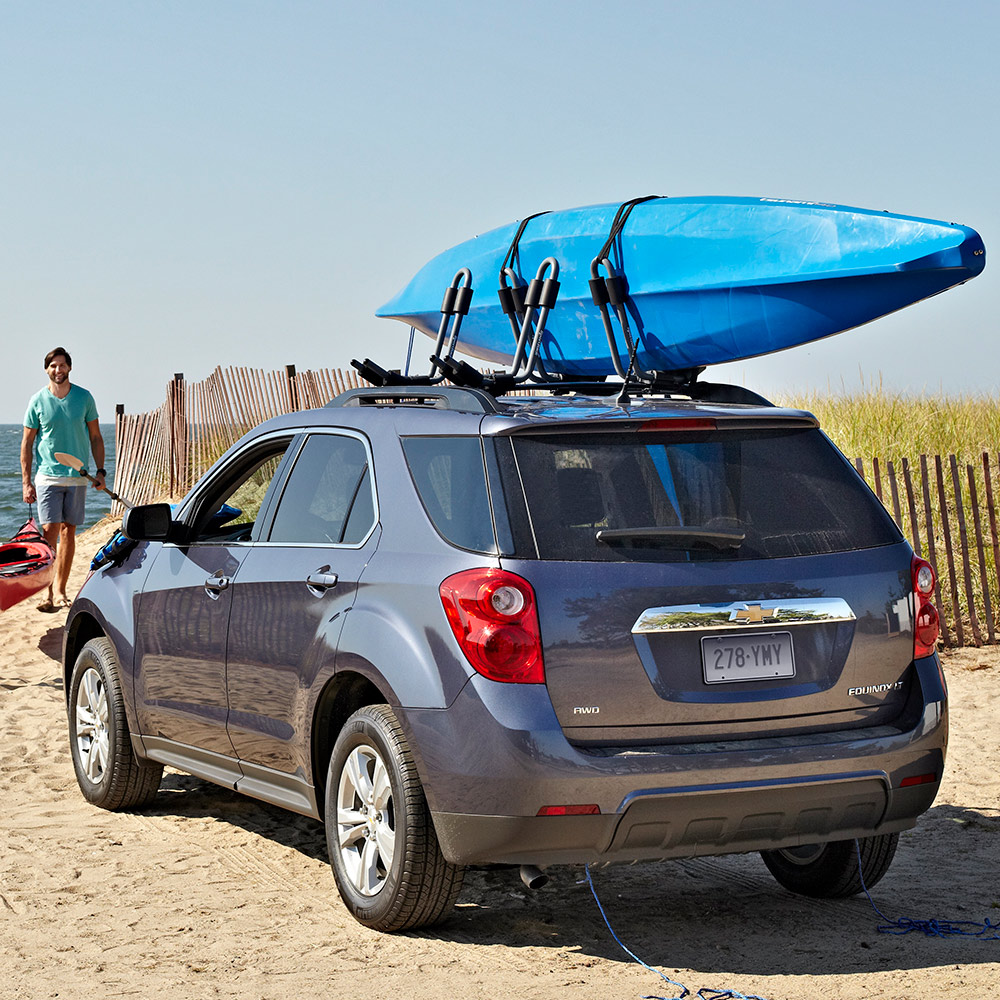
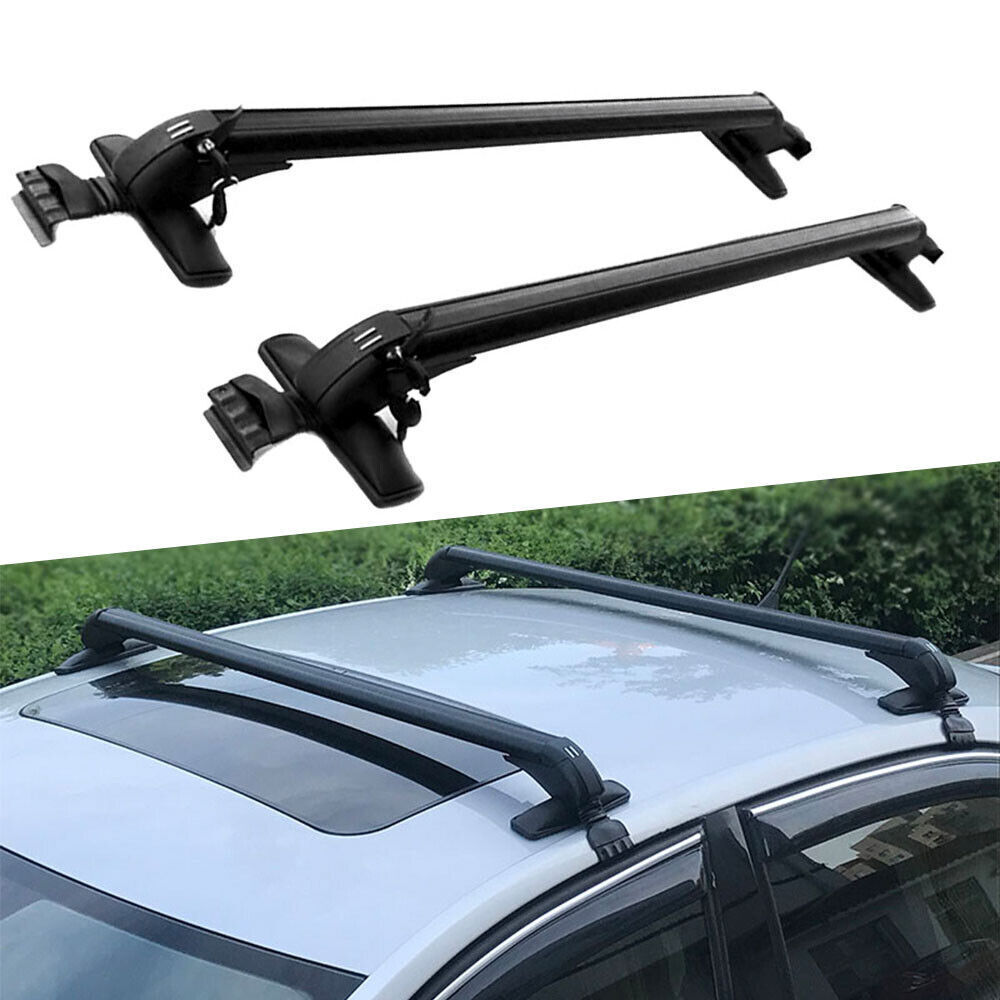
Crossbars And Towers
Crossbars run across the roof. Towers hold the crossbars in place. Both parts work together to carry loads. Removing crossbars and towers requires loosening bolts or screws.
Some systems have quick-release buttons. Others need tools to undo fasteners. Knowing your rack system helps avoid mistakes. Handle parts with care to prevent damage to your roof.
Preparing For Removal
Removing a roof rack yourself can save time and money. Proper preparation makes the process easier and safer. This section covers key steps to get ready for removal. Follow these tips to avoid damage and work smoothly.
Clearing The Roof
Start by removing all items from the roof rack. Clear any dirt or debris on the car roof. This prevents scratches and helps you see all mounting points. A clean surface also stops tools from slipping during removal.
Checking Manufacturer Instructions
Look for the roof rack’s manual or instructions online. These guides show specific steps and tools needed. Following them reduces risk of damage. Different racks have different removal methods. Check for any warnings or special tips.
Inspecting Rack Condition
Examine the rack for rust, cracks, or loose parts. Note any damage before you start. Weak or broken parts may need extra care or replacement. Knowing the rack’s condition helps you plan the removal safely.

Credit: www.noozhawk.com
Step-by-step Removal Process
Removing a roof rack by yourself can save time and money. Follow a clear step-by-step process for safe removal. This guide breaks down each step into simple actions. You will know exactly what to do at every stage.
Loosening The Mounting Hardware
Start by finding the screws or bolts holding the rack. Use the correct tool, usually a wrench or screwdriver. Turn them slowly to avoid damage. Keep all hardware in a safe place. This helps during reinstallation or disposal.
Removing Crossbars
Once the hardware is loose, gently lift the crossbars. Some may slide out, others may need a slight wiggle. Avoid using force to prevent scratches or dents. Set the crossbars aside carefully.
Detaching Towers Or Feet
Next, remove the towers or feet that attach the rack to the roof. These parts often clip or bolt in place. Use tools to undo them carefully. Check for any hidden clips or locks. Remove the towers one at a time.
Handling Seals And Gaskets
Look for seals or gaskets under the towers. These protect the roof from water damage. Remove seals gently to avoid tearing. Clean the area before installing new parts or finishing the job. Proper care extends your roof’s life.
Common Challenges
Removing a roof rack yourself can be simple. Yet, some challenges often appear. These issues can slow you down. They may even require extra tools or help. Understanding these common problems helps you prepare. It also makes the job less frustrating.
Rust And Corrosion
Rust often forms on metal parts exposed to weather. It can make bolts and screws hard to turn. Corrosion weakens the roof rack’s attachment points. This can cause damage during removal. Using rust remover or penetrating oil helps. Let it sit for some time before trying again.
Stripped Bolts
Stripped bolts lose their shape and grip. This makes them difficult to unscrew. Using the wrong tools can cause stripping. A bolt extractor or pliers may be needed. Work slowly to avoid damaging surrounding parts.
Sticky Or Stuck Parts
Parts can stick due to dirt, paint, or age. Stuck nuts and bolts need extra force to move. Applying lubricant reduces friction and eases removal. Gentle tapping with a rubber mallet can help loosen parts. Patience is key to avoid breaking anything.
Credit: www.ebay.com
Post-removal Care
After you remove a roof rack, caring for the roof surface is very important. Proper post-removal care keeps your car in good shape. It helps avoid damage and keeps the paint looking fresh. Taking a few simple steps can protect your car from future issues.
Cleaning The Roof Surface
First, clean the area where the rack was attached. Use mild soap and water to wash off dirt and dust. Avoid harsh chemicals that can harm the paint. Rinse well and dry with a soft cloth. This step removes grime and prepares the roof for inspection.
Checking For Damage
Look closely for scratches, dents, or rust spots. Small damages can grow worse over time. Check the seals or rubber pads if your rack used them. These parts can wear or leave marks. Early detection helps you fix problems before they spread.
Applying Protective Treatments
Apply wax or a paint sealant to protect the roof surface. This adds a layer against dirt, water, and sun damage. Use products designed for car paint and follow the instructions carefully. Regular protection keeps your car’s finish smooth and shiny.
When To Seek Professional Help
Removing a roof rack might seem simple, but some situations need expert help. Knowing when to call a professional can save your vehicle from damage and reduce stress. This section guides you on spotting those tricky cases.
Complex Roof Designs
Some vehicles have roofs with curves or extra parts. These designs can hide roof rack mounts or make removal hard. A professional knows how to handle these shapes safely. They use special tools to avoid scratches or dents.
Hidden Fasteners
Not all roof racks use visible screws or bolts. Some have hidden fasteners under trims or inside rails. Finding and loosening these needs skill and care. Experts have experience with many models and can remove racks without breaking clips or covers.
Avoiding Vehicle Damage
Removing a roof rack wrongly can cause paint chips or dents. It can also break seals, leading to leaks. Professionals work carefully to protect your car’s finish and structure. Their knowledge helps keep your vehicle safe and looking good.

Frequently Asked Questions
Can I Remove A Roof Rack Without Professional Help?
Yes, you can remove a roof rack yourself with basic tools. Follow the manufacturer’s instructions carefully to avoid damage. Take your time and work methodically to ensure a safe removal process.
What Tools Are Needed To Remove A Roof Rack?
Common tools include a wrench, screwdriver, and sometimes an Allen key. Check your roof rack’s manual for specific tool requirements before starting the removal.
How Long Does It Take To Remove A Roof Rack?
Removing a roof rack usually takes 15 to 30 minutes. The time depends on the rack type and your experience level with tools.
Will Removing A Roof Rack Damage My Vehicle?
If done carefully, removing a roof rack won’t damage your vehicle. Avoid using excessive force and inspect mounting points for scratches or dents.
Conclusion
Removing a roof rack yourself can save time and money. It takes some care and basic tools to do it right. Follow steps carefully to avoid damage to your vehicle. Take your time and stay safe during the process. If unsure, asking for help is always smart.
You can keep your car looking good without extra costs. Doing it yourself feels rewarding and practical. Simple tasks like this build your confidence over time.

- Ultra-Soft & Cozy: Made of double-sided sherpa fleece that’s soft and warm to the touch. The delicate textured arch patt…
- Promotes Deep Sleep: Mimics a gentle hug, providing just the right amount of pressure to help calm your mind, ease tensi…
- Durable & Well-Made: Features a 6″ x 6″ square pocket design with high-density stitching and a 7-layer structure. This k…

- PREMIUM MATERIALS – Anfie weighted blanket is crafted from high-quality cotton and polyester blend, certified by Oeko-Te…
- PLAYFUL CHARM – Our weighted blanket is available in a variety of enchanting designs, including astronauts, the stars, d…
- DURABILITY AND STABILITY – Glass microbeads boast excellent durability and stability, resistant to deformation or damage…

- Polyester
- Enjoy Deeper Sleep: Our 60 x 80 inch, 25 lbs weighted blanket with cooling glass beads is crafted from breathable and co…
- Durable Craftsmanship: Our queen-size heavy blanket is built with 7-layer construction and tight stitching for long-last…

- CHOOSE THE RIGHT SIZE:Choosing the correct size weighted blanket is key to comfort and sleep quality. Our big size weigh…
- STAYS IN PLACE ON YOUR BED:Unlike regular heavy blankets that may slip or hang unevenly, our adult weighted blanket is p…
- DURABLE QUALITY & EVEN WEIGHT DISTRIBUTION:Crafted with high-density stitching and 5″x5″ small compartments, this weight…

- Dreamy Soft & Warm: This weighted blanket features a unique double-sided design: one side is 260gsm plush fleece, the ot…
- Get Better Sleep: The weighted blanket molds to your body like a comforting hug, signaling it’s time to unwind. As you s…
- Skin-Friendly & Evenly Weighted: Certified by OEKO-TEX, our heavy blanket is gentle on the skin. The sturdy 7-layer cons…

- Warm and Soft: Our plush weighted blanket for adults features a unique dual-sided design with 260GSM jacquard fleece on …
- Natural Sleep: This heavy weighted blankets feel just like a warm hug, creating a cozy and comforting atmosphere. It hel…
- Even Weight Distribution: This weighted throw blanket for adults boasts a 7-layer design that securely locks ultra-fine …