Effortless Set Top Box Setup Guide: Your Gateway to Smarter Entertainment
Are you ready to unlock a world of enhanced television viewing? Gone are the days of clunky analog signals and limited channel choices. Today, the humble set top box is your key to a vastly superior entertainment experience, offering crystal-clear digital broadcasts, on-demand content, and a host of interactive features. But navigating the initial setup can sometimes feel a little daunting, leaving many wondering where to begin. Fear not! This comprehensive guide is designed to demystify the process, transforming you from a novice to a pro in no time. We’ll walk you through each step, ensuring your set top box is up and running smoothly, so you can start enjoying your favorite shows, movies, and more without any unnecessary hassle.
Understanding Your New Set Top Box
Before diving into cables and connections, it’s crucial to understand what a set top box actually does. Essentially, it’s a device that receives a signal and decodes it into a format your television can display. This signal can come from various sources, including satellite dishes, cable networks, or even over-the-air antennas. The modern set top box has evolved significantly, incorporating features like high-definition picture quality, digital recording capabilities (often through a built-in hard drive or USB storage), electronic program guides (EPGs) for easy channel navigation, and even internet connectivity for streaming services and interactive applications. Recognizing the type of set top box you have – whether it’s for satellite, cable, or terrestrial TV – will help you tailor the setup process to your specific needs. Most devices will come with a user manual, which is always a good first point of reference.
Gathering Your Essential Accessories
To ensure a seamless setup, gather all the necessary components beforehand. You’ll typically find the following items in your set top box packaging:
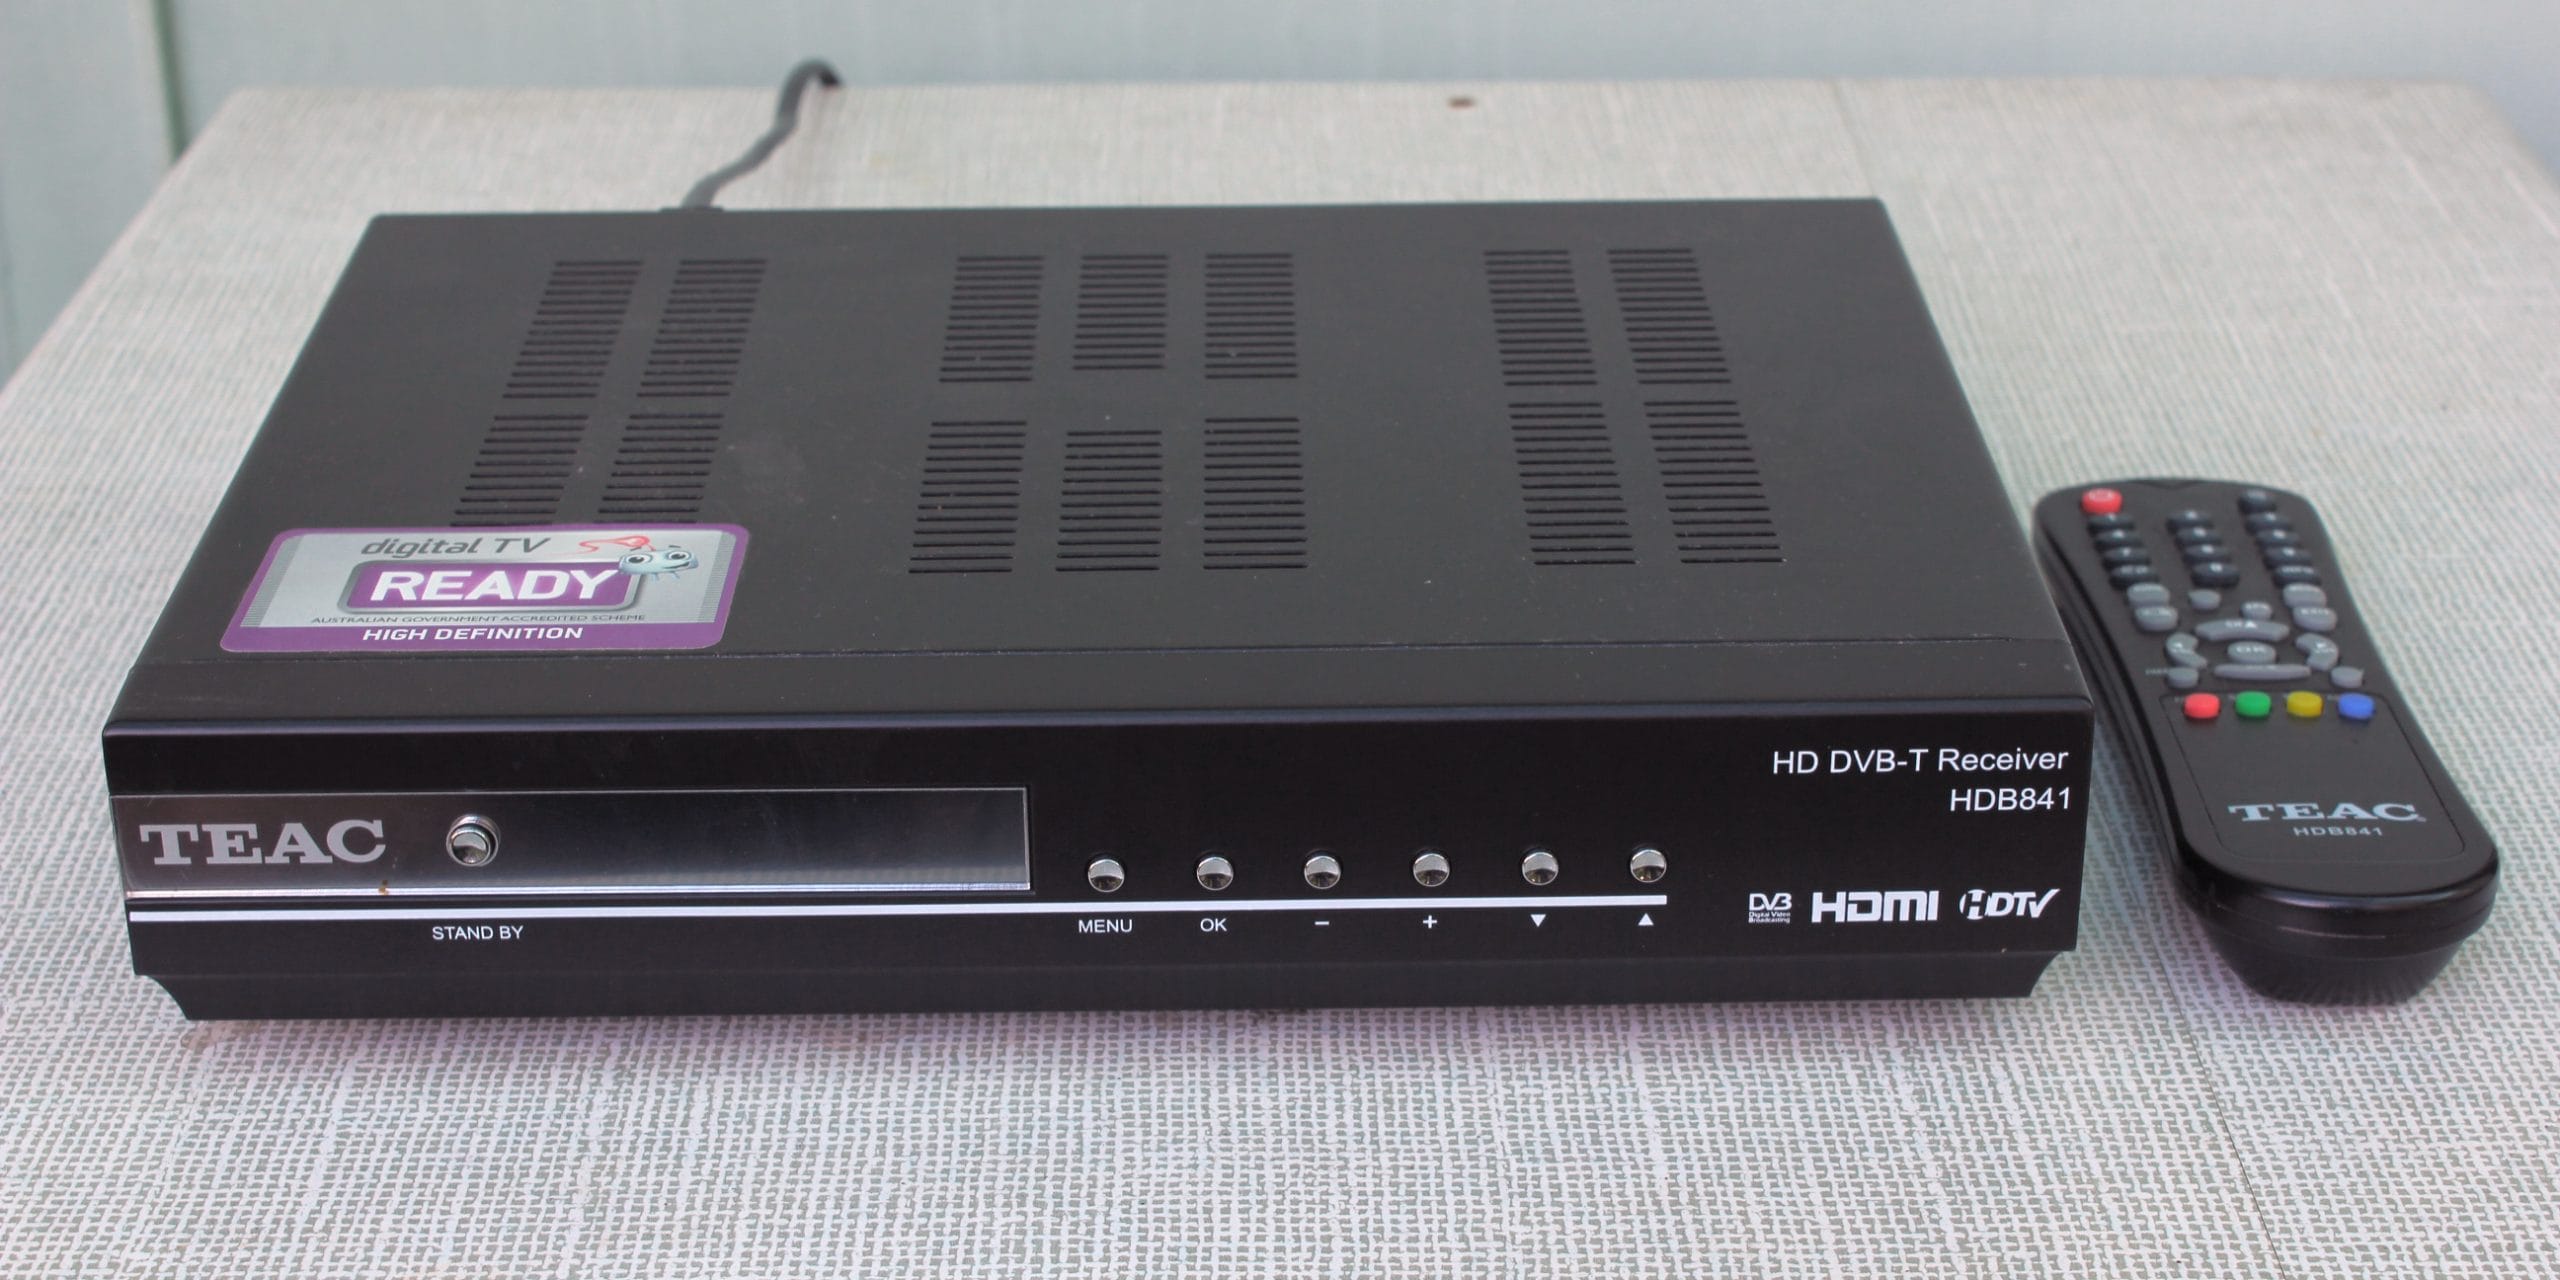
The Set Top Box Unit: The main device itself.
Remote Control: For operating the box. Ensure you have the required batteries.
Power Adapter/Cable: To supply power to the set top box.
Cables for Connection: This is where things can vary. Common cables include:
HDMI Cable: The most common and recommended cable for connecting modern televisions, offering the best picture and sound quality.
SCART Cable: An older but still prevalent connector, particularly in Europe.
Coaxial Cable: Used to connect your antenna or cable outlet to the set top box.
RCA Cables (Red, White, Yellow): An older analog connection, typically offering lower picture quality than HDMI.
User Manual: A vital resource for specific instructions related to your model.
You’ll also need:
Your Television: Ensure it has the appropriate input ports for the cables you plan to use.
A Power Outlet: Easily accessible for the power adapter.
Signal Source Connection: This will be your satellite dish, cable wall outlet, or external antenna.
Having everything at hand before you begin will prevent frustrating interruptions and ensure your set top box setup is as straightforward as possible.
Step-by-Step: Connecting Your Set Top Box
Now, let’s get down to the practicalities of connecting your set top box.
1. Position Your Set Top Box: Place the set top box in a location where it can receive adequate ventilation and is within reach of your television and power outlet. Avoid placing it in enclosed cabinets that can trap heat.
2. Connect to the Signal Source:
Satellite or Cable: Connect one end of the coaxial cable to the ‘LNB In’ or ‘Cable In’ port on the back of your set top box. Connect the other end to the corresponding outlet on your wall or directly to your satellite dish’s LNB (using appropriate outdoor cabling if necessary).
Terrestrial (Over-the-Air): Connect your indoor or outdoor antenna to the ‘Antenna In’ or ‘RF In’ port on the back of your set top box.
3. Connect to Your Television: This is where you’ll choose your preferred connection method.
HDMI (Recommended): Connect one end of the HDMI cable to the ‘HDMI Out’ port on your set top box and the other end to an available HDMI input port on your television. Note the HDMI input number (e.g., HDMI 1, HDMI 2).
SCART/RCA: If using older connections, match the colored cables (or the SCART plug) to the corresponding input ports on your TV and set top box. Be mindful that these analog connections will not provide the same quality as HDMI.
4. Connect the Power: Plug the power adapter into the ‘Power’ or ‘DC In’ port on the set top box and then into a wall socket. Do not power on your television or the set top box just yet if there’s a mains switch on the box itself.
Initial Power-On and Configuration
With all connections secured, it’s time to bring your set top box to life.
1. Power On Your TV: Turn on your television and select the correct input source that corresponds to the connection you made (e.g., HDMI 1, AV, SCART). You should now see the initial startup screen of your set top box on your TV.
2. Power On Your Set Top Box: Press the power button on the remote control or the unit itself. The set top box will begin its boot-up sequence.
3. On-Screen Setup Wizard: Most modern set top box devices come with an intuitive on-screen setup wizard. Follow the prompts carefully. This wizard will typically guide you through:
Language Selection: Choose your preferred language for menus and guides.
Country/Region Selection: This helps the set top box tune into the correct broadcast frequencies.
Signal Scan/Tuning: This is a crucial step where the set top box searches for available channels. This process can take several minutes. Ensure your signal source is active and properly connected during this scan.
Network Setup (if applicable): If your set top box has internet capabilities, you’ll be prompted to connect it to your home network via Wi-Fi or an Ethernet cable.
Time Zone Settings: Ensure the correct time is displayed for program listings.
4. Channel Tuning Completion: Once the scan is complete, your set top box should display a list of available channels. You can now use the remote to navigate through them.
Troubleshooting Common Set Top Box Issues
While the setup is generally straightforward, occasional hitches can occur. Here are a few common troubleshooting tips:
No Signal: Double-check all cable connections, ensuring they are firmly seated. Verify that you have selected the correct input source on your TV. For satellite/cable, ensure your dish or the external connection is functioning.
Picture or Sound Issues: If you’re experiencing a fuzzy picture or distorted sound, try a different cable (especially switching to HDMI if possible). Ensure your set top box is updated to the latest firmware if an internet connection is available.
Remote Not Working: Check the batteries in the remote. Ensure there are no obstructions between the remote and the set top box. Try re-pairing the remote if your device has that function.
* Channels Not Found: Rerun the channel scan within the set top box’s settings menu. Ensure your antenna is properly positioned or that your satellite/cable feed is active.
Maximizing Your Set Top Box Experience
Once your set top box is successfully set up, there’s a wealth of features to explore. Familiarize yourself with the electronic program guide (EPG) to plan your viewing. If your set top box has recording capabilities, learn how to schedule recordings of your favorite programs. Explore any built-in streaming apps or interactive services. Regularly check for software updates for your set top box, as these often bring new features and performance improvements.
In conclusion, setting up a set top box is a rewarding process that opens the door to a more dynamic and enjoyable television experience. By following these clear steps and understanding the basics, you can effortlessly get your new set top box up and running, transforming your living room into a hub for premium entertainment. Enjoy the clarity, the choice, and the convenience that a new set top box brings!